Technique | Back country bush flying
Having read Bush & Mountain Flying, Leonardo Correa-Luna decided to head to Nevada for some surprising lessons in the art of backcountry flying
14 April 2021
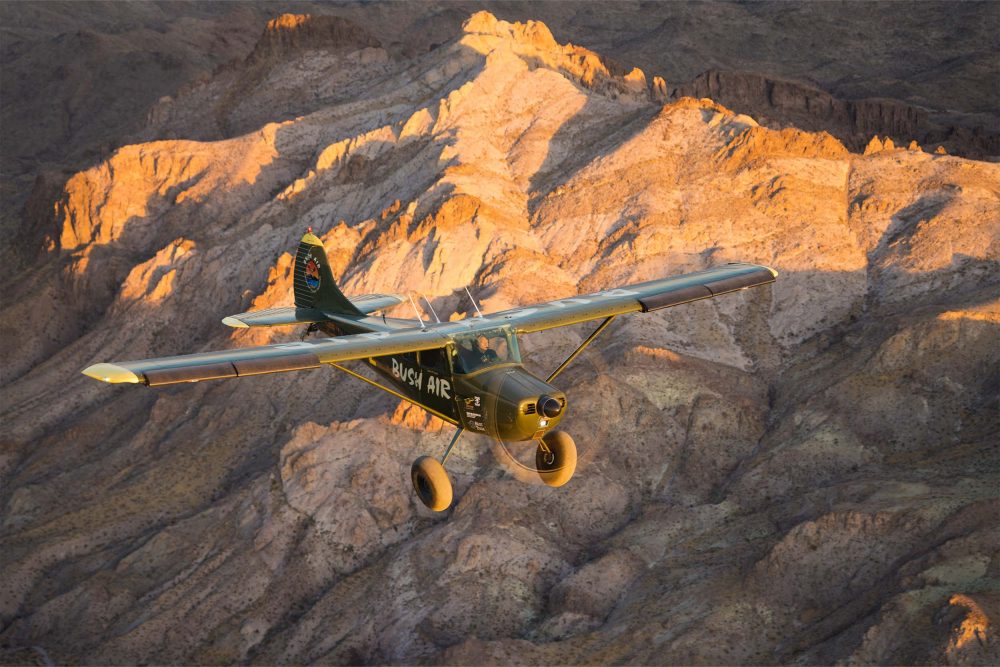
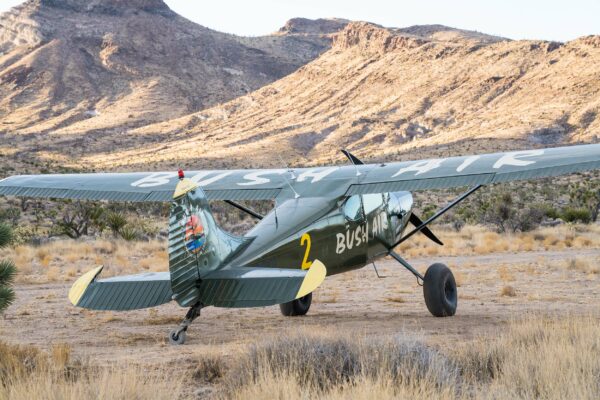
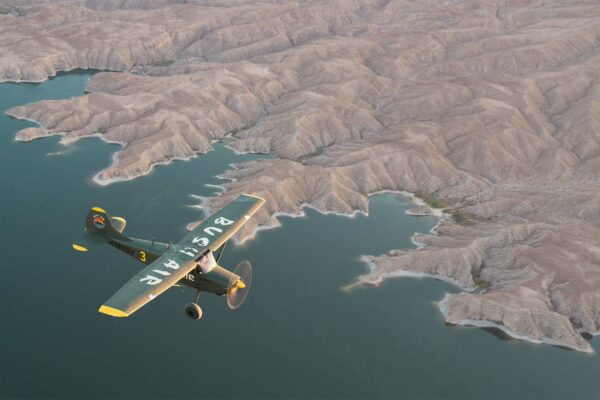
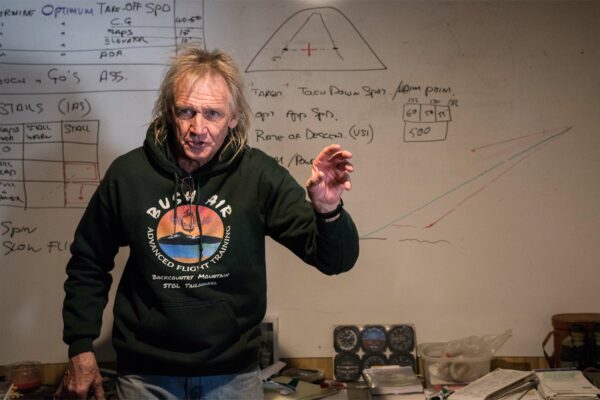
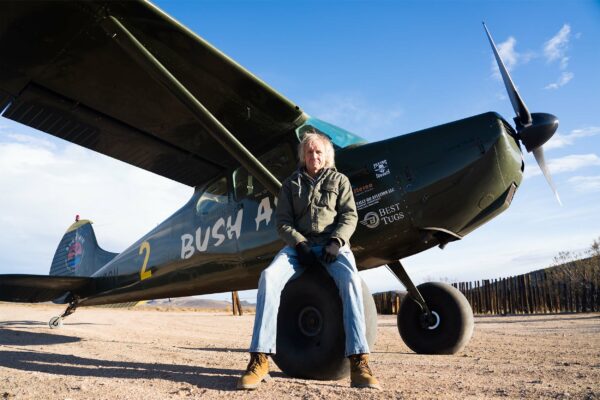
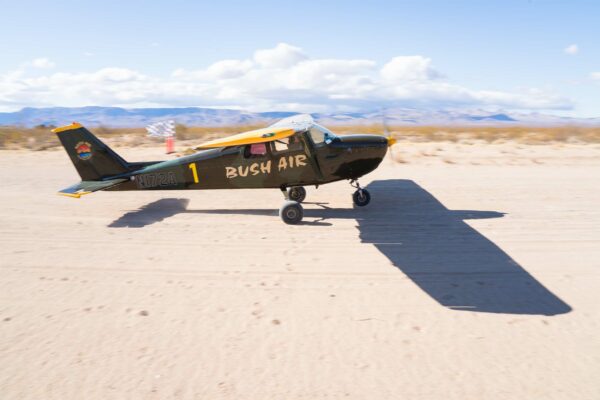
It is said that you should never judge a book by its cover. The contemporary equivalent could well translate as ‘never judge a person by their comments on social media’. I had first encountered Milne ‘CC’ Pocock on social media, and I have to confess that my first impression was not good. CC is the owner, instructor, mechanic, and master chef of Bush-Air, a flight school, specialising in advanced backcountry and tailwheel flight training, operating out of Kidwell Airport in Nevada, USA.
To me, his comments in different aviation groups were cocky with a ‘know all’ attitude. To be honest, he was usually correct… Simultaneously, I was annoyed that he was constantly promoting his book. However, his irksome marketing technique did work, and before long I’d ordered his Bush & Mountain Flying handbook. The content was exciting and full of practical knowledge. It wasn’t particularly well organised (there’s a fourth edition on the way), but overall it made a solid case to claim a spot on an aviator’s library shelf.
Our first real-life encounter was at Oshkosh 2018. He was giving a seminar about Bush & Mountain Flying. The venue was packed – not an empty seat.
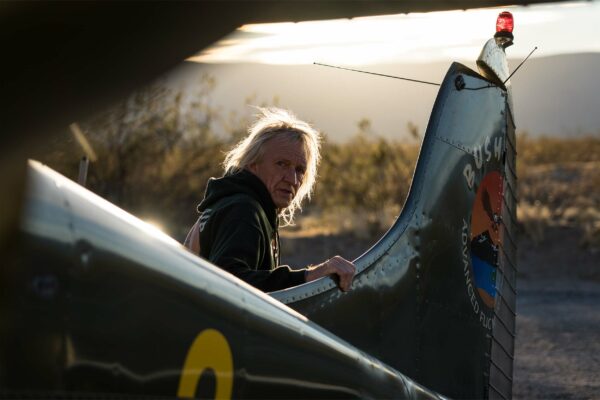
CC is originally from South Africa. With his short khaki shorts, camouflaged t-shirt, and long white hair, his appearance is half Mick Dundee from Crocodile Dundee, half Doc Brown from Back to the Future! Definitely not your average instructor!
During the seminar, it was clear that he was knowledgeable, and shared concepts not normally found in the POH. The way he delivered the message was slightly rough for the ‘sensitive’ times we live in. Straight to the point, and talking in the language of a real aviator, CC reminded the audience how legal teams influence the creation of pilot operating handbooks. That struck a chord, and made me curious about the possibility of paying a visit to his flight school.
In September 2020, I was flying in his area following Route 66, he saw one of my posts on social media and generously sent me a message inviting me to visit his home. He had a room and cold beer available! How could I say ‘no’…?
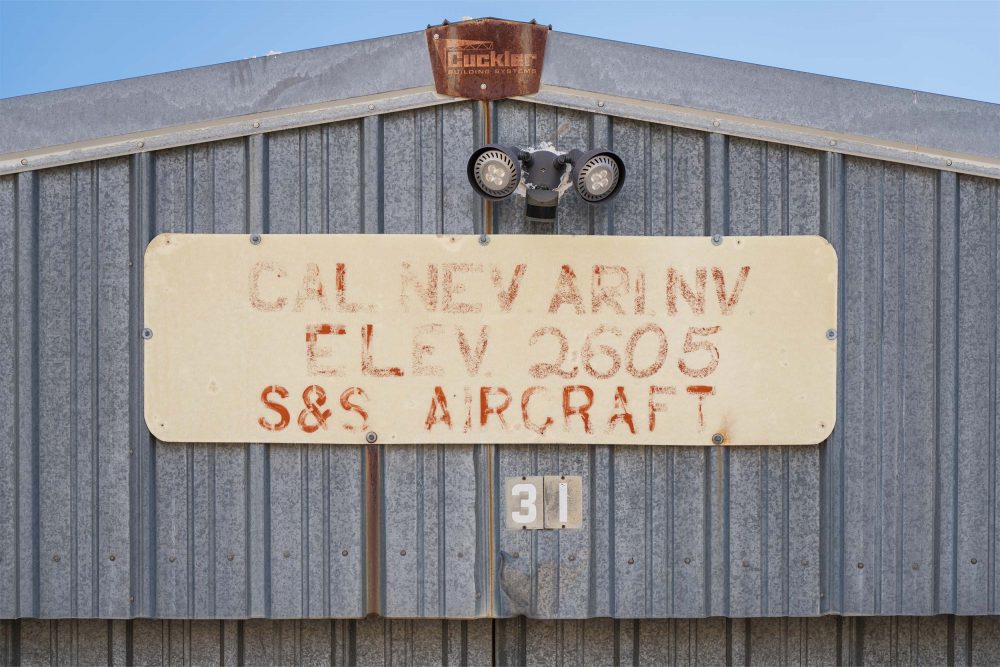
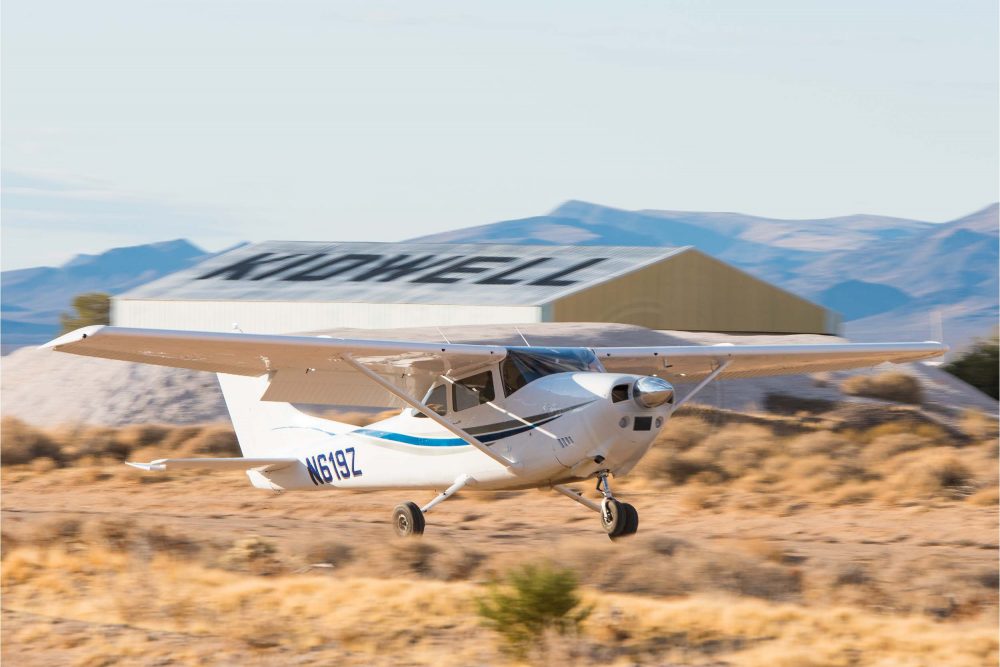
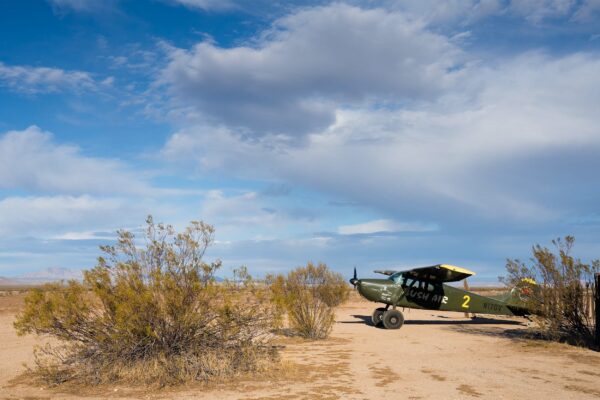
CC lives at Kidwell Airport in Cal Nev Ari, Nevada. Once an abandoned dusty military runway, it changed in 1965 when it was developed into a full casino town by Slim and Nancy Kidwell. The town was named Cal Nev Ari (short for California – Nevada – Arizona, as it’s so close to all three State lines). The runway was called Kidwell Airport. Cal Nev Ari became the first fly-in casino town in the State of Nevada.
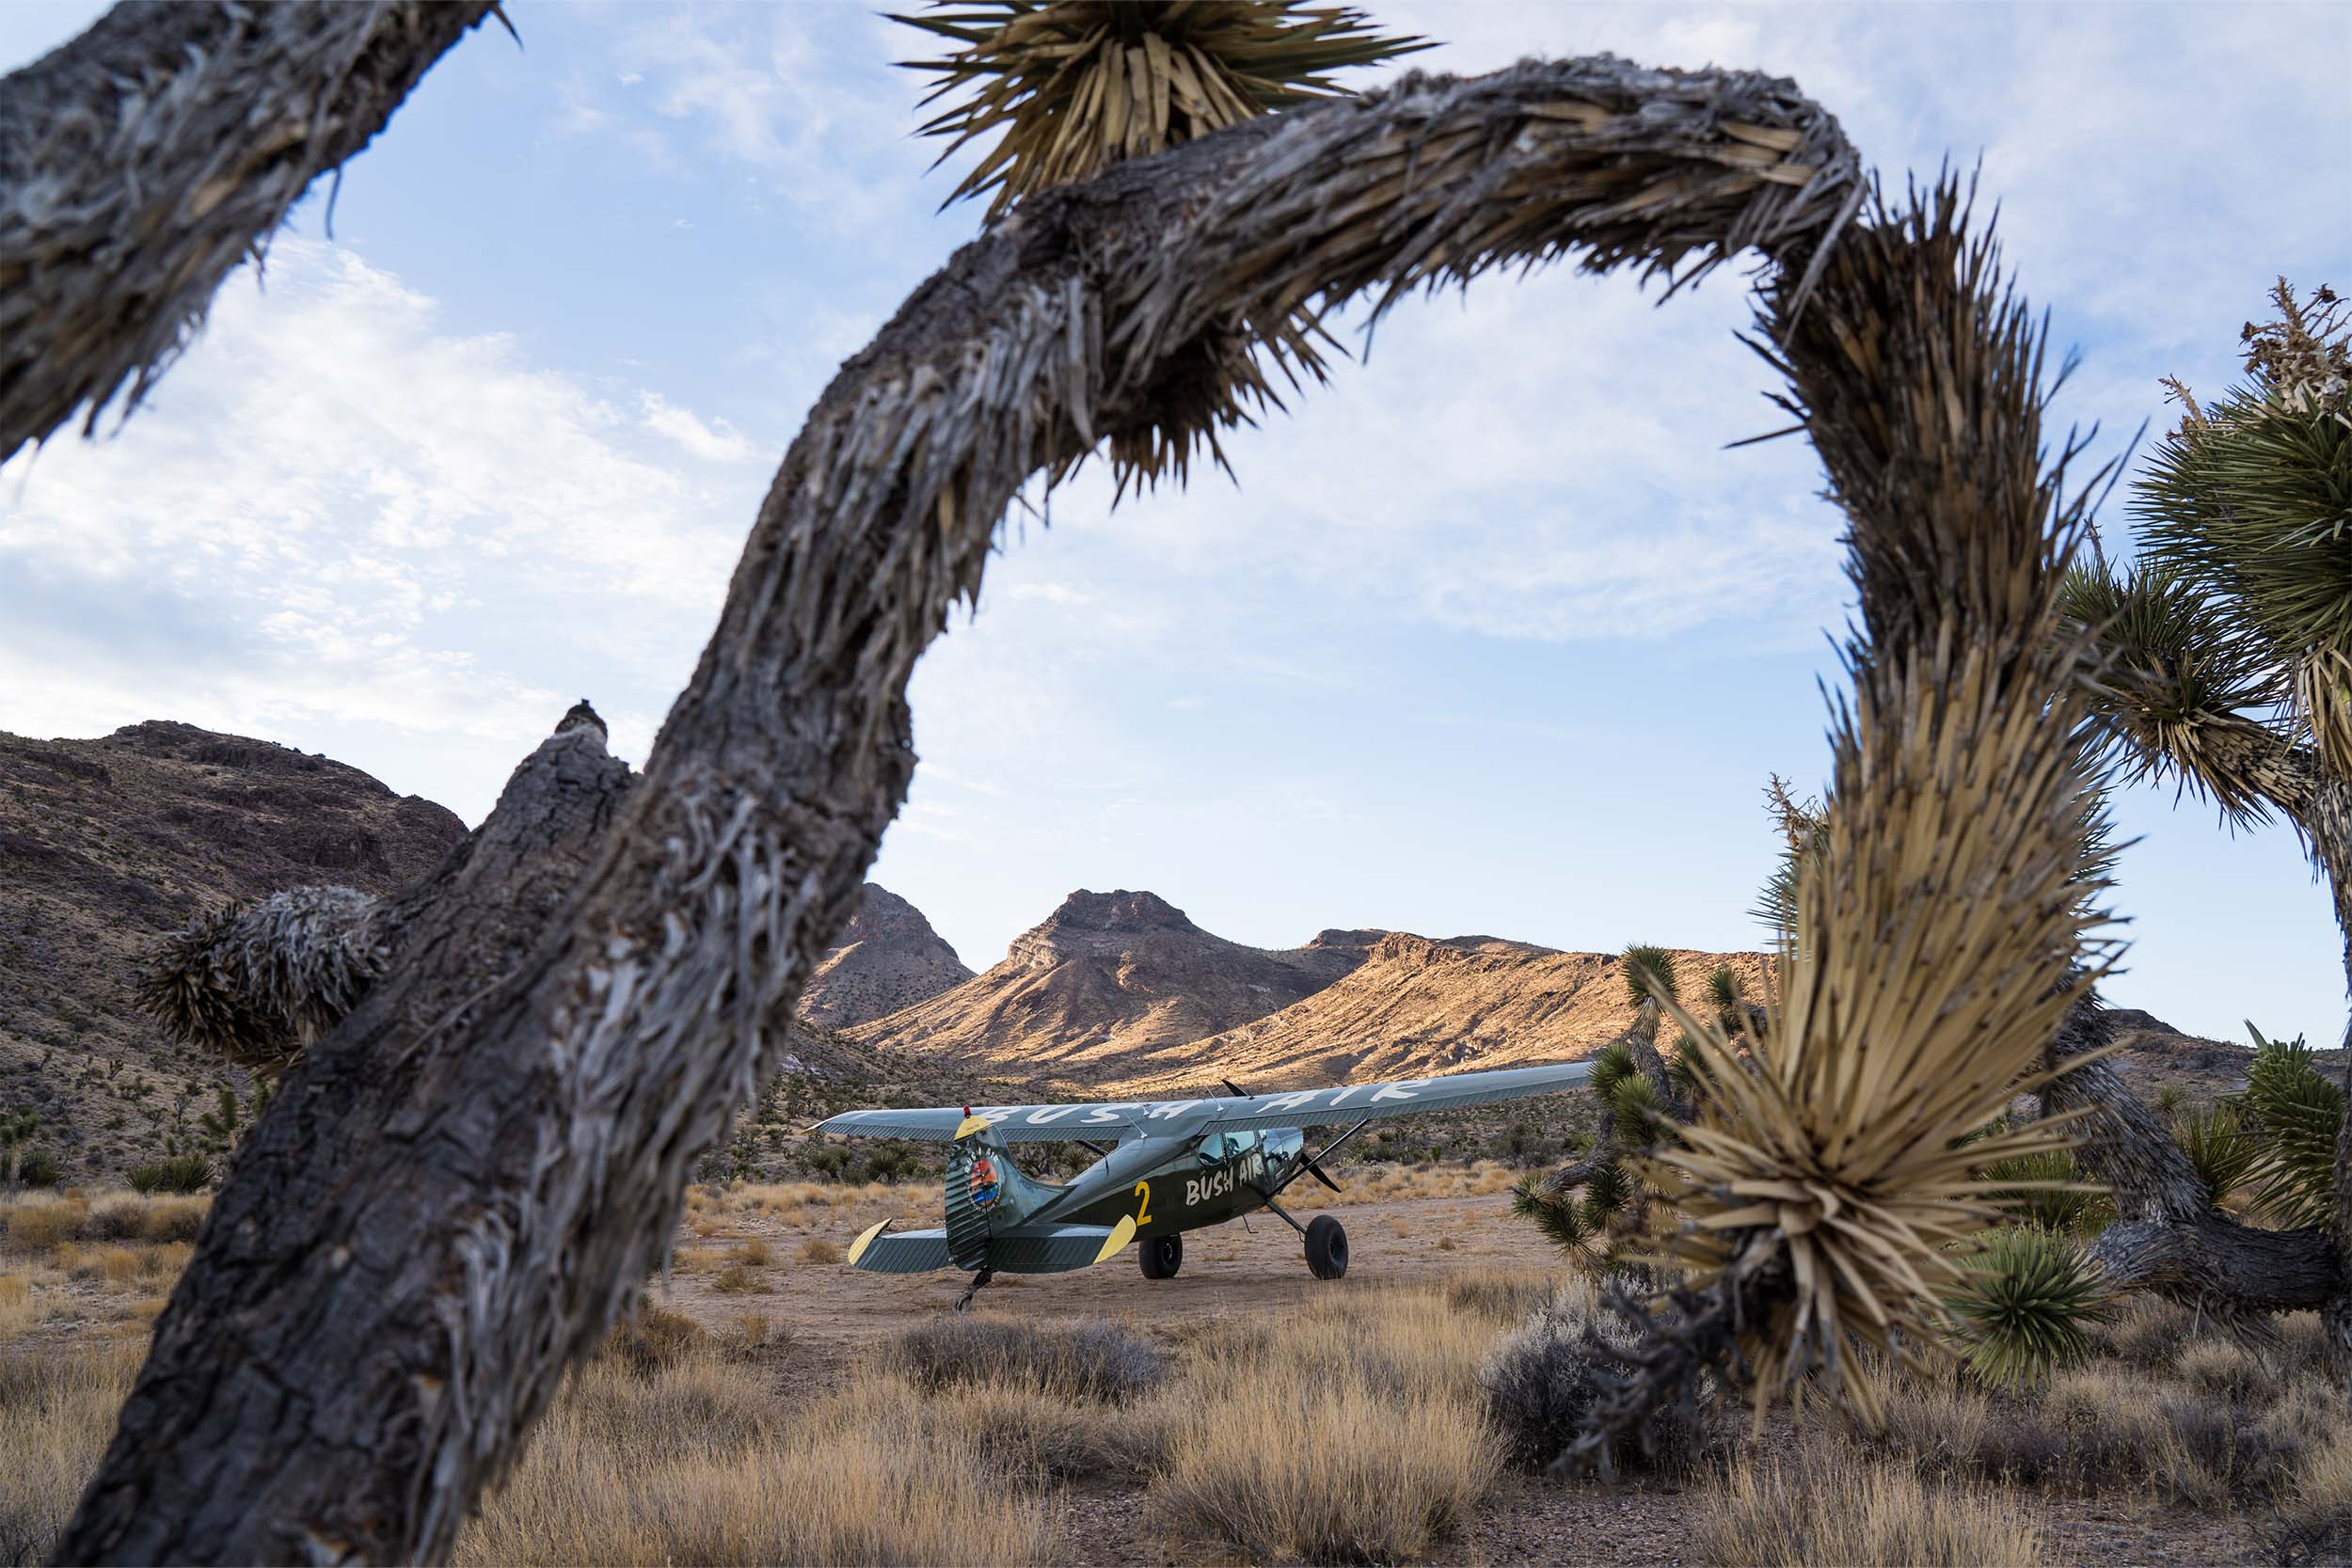
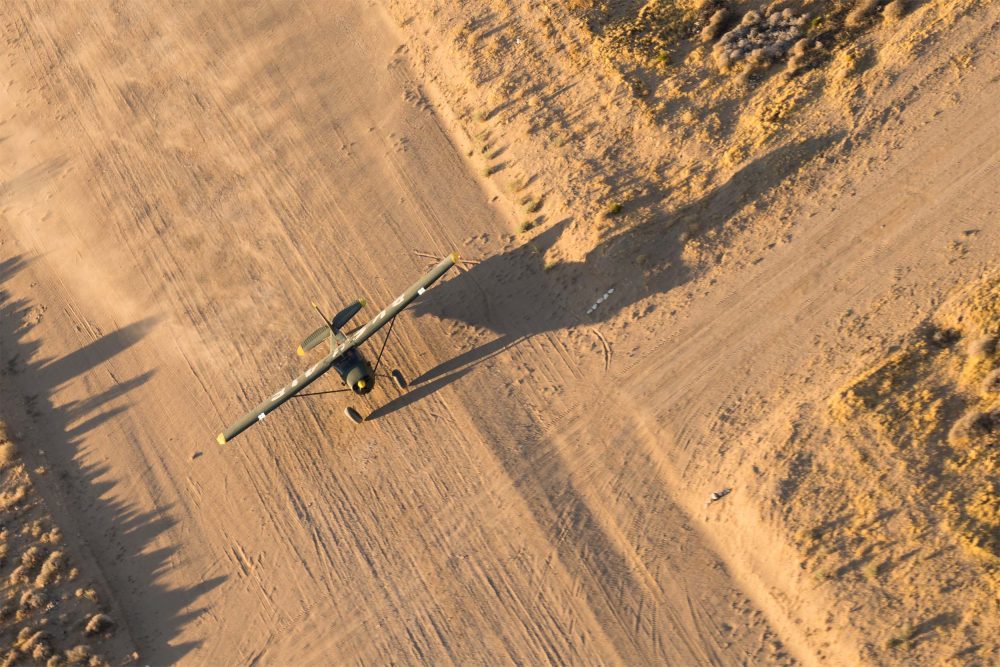
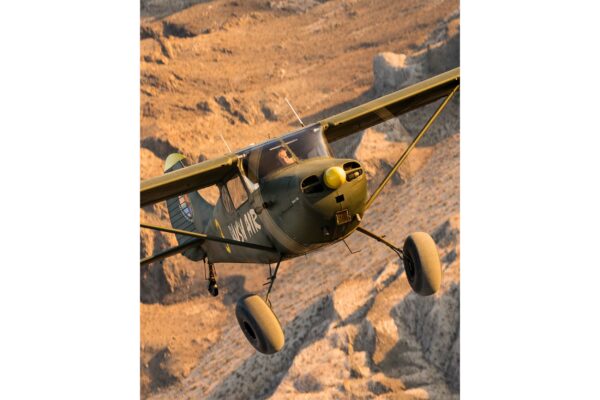
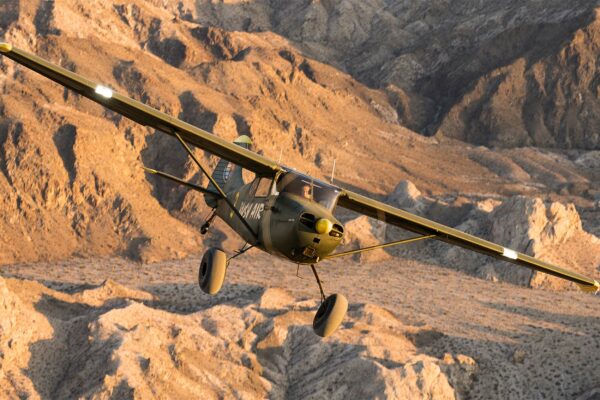
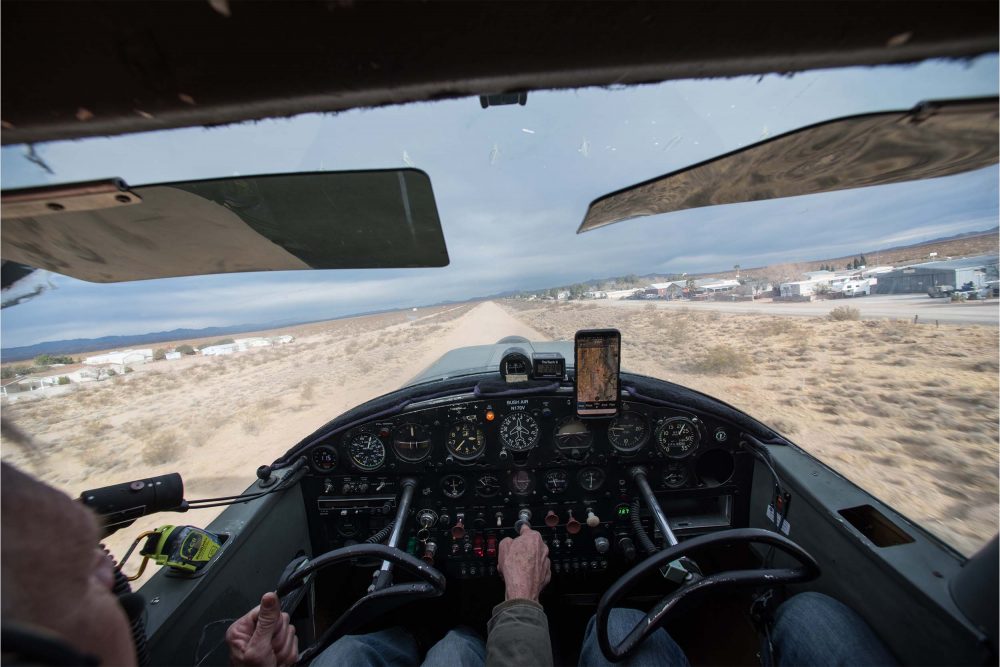
A well-maintained gravel runway goes through the middle of the town, and the Bush-Air operations base is just next to the runway. After landing my 1952 Cessna 170B, I made a quick right turn out of the runway. CC was waving at me, indicating where to park.
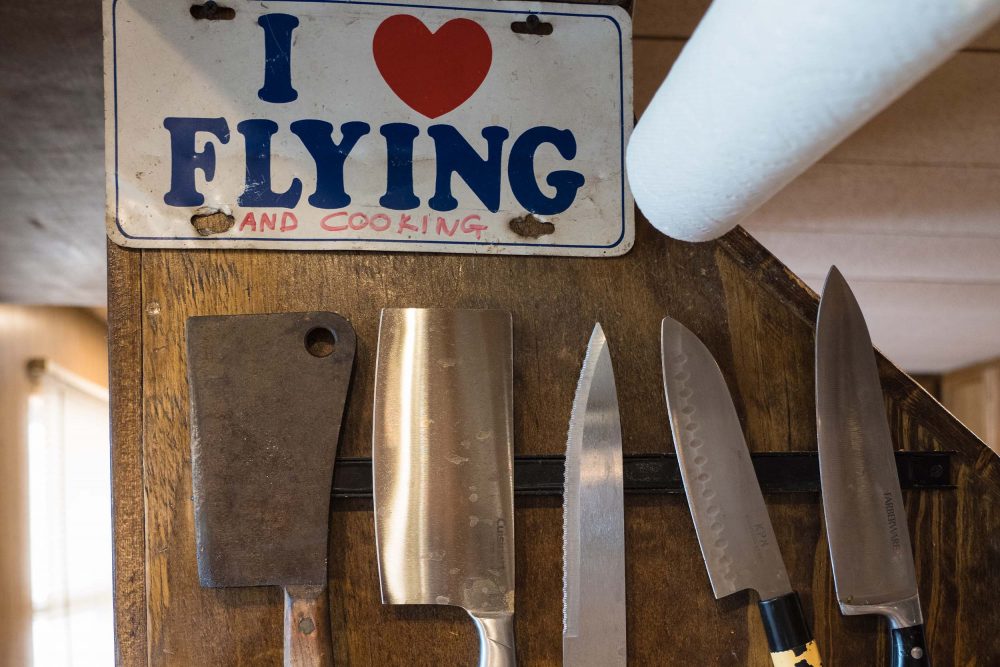
I only had time to stay for one day, but that was enough to change my perception of CC. He is a great host and an even better cook. Outside in his little oasis by the pool, he cooked some of the best ribs that I have eaten in my life. And over several cold beers, he shared the details of his life.
Born in Cape Town, South Africa, he always wanted to learn to fly, but he had to work hard to save money for flying lessons. Finally, in 1987, aged 34, he was able to fulfil his dream. He quickly went all the way and earned his South African and FAA commercial pilot’s licence. From the beginning, CC knew that straight and level airline flying was not for him. He wanted to be free. He wanted to be a Bush pilot. During the following years, he did freelance commercial aviation. He is proud of his independence. “I never worked for anybody. I always did my own thing,” CC declares.
During those years, he gained a vast amount of experience in the good, as well as the ‘rough’ way. Around 2002, realising that there was a need for a school teaching specialised Bush flying courses, was when Bush-Air was born.
Barberton Valley, near the popular safari areas in Botswana and Mozambique, was the original base for Bush-Air. He built an entire airport, runway, hangars, control tower, and accommodations for the students. From the beginning, it was a huge success, and students worldwide were booking for months in advance.
Between 2002 and 2015, CC was travelling back and forth between South Africa and the US, teaching on both sides of the pond. Eventually, after a fallout with the aviation community in South Africa and feeling more at home in the US, he decided it was time to make it his permanent base.
In 2015 he bought an old derelict trailer house at Kidwell, Nevada. He is a man of multiple skills, self-taught by life, using them – and following his Barberton airport-style – he slowly converted the old trailer house into an oasis in the middle of the Nevada desert. Swimming pool and fish pond included! His HQ has several comfortable rooms which can be used by the students who visit his school from all over the world. I left early the following day, but not before booking a date to return in December.
For those three days in the Bush-Air classroom, I wasn’t going to be alone. My wingmen would be Keith Watts, from Tennessee, a professional race car driver instructor who owns a Cessna 172 – and Kirk Robertson, a dentist from Flagstaff, Arizona, who brought his 182 to Kidwell. You have the option to use your own aircraft for training or choose between the 172 or 170B available from Bush-Air.
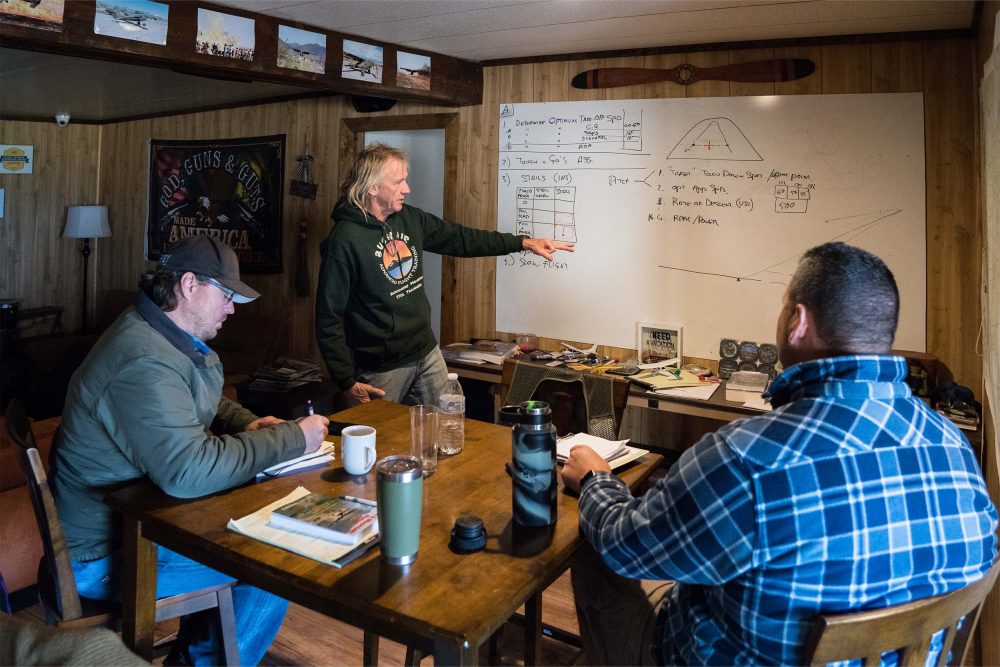
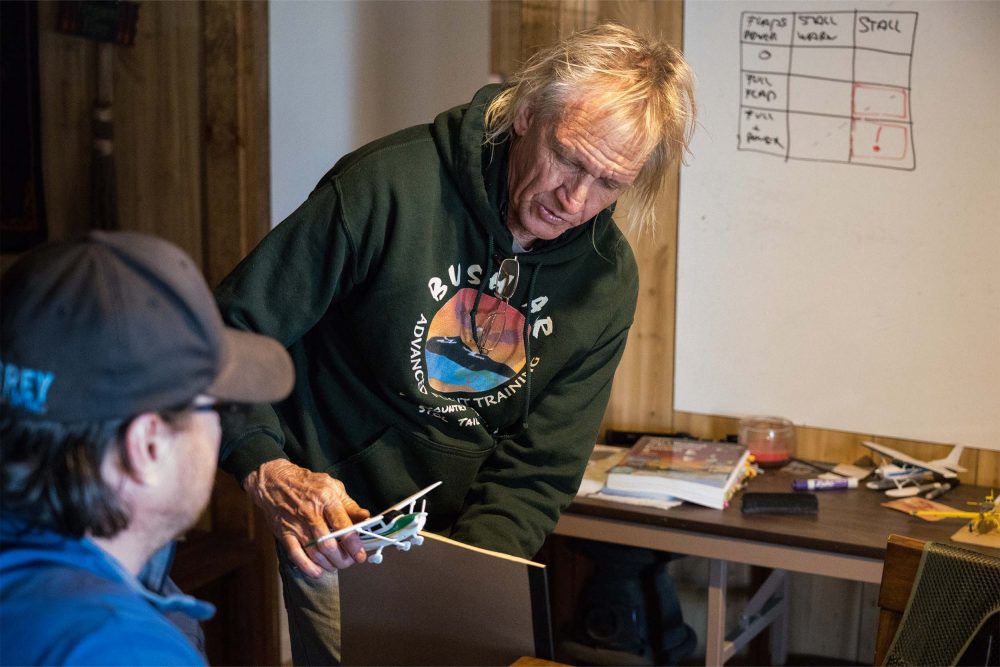
Each day was a similar format, a good breakfast with espresso coffee, eggs and bacon to ‘fill the tank’ for the long day ahead. Groundschool, followed by flying as early as possible before the desert started to heat up. Day one of CC’s advanced backcountry flying course (level one) saw him drawing diagrams and describing concepts that weren’t really what I’d been expecting. He constantly repeated the words ‘safety, safe, proficient, confident’ – all these allied to the word ‘skill’.
Stabilised approaches, optimum weight & balance, survival equipment, and safety were concepts that he would repeat several times during the next three days. For a moment, I felt confused. I thought I signed up for a Bush flying course, but I was feeling as if I was at an airline training. Shouldn’t we talk about landing on river bars, water-assisted landings, and how big your tyres are? Is that not what, supposedly, Bush flying is about these days? At least that is what you see on YouTube…
On our first day the main topic was, ‘how well do you think you know your aircraft?’ CC quickly fired some questions. ‘What is your stall speed? What about your stall speed with flaps 0 and full, with full power?’ We hurriedly mumbled some answers based on our own experience or on what the POH said. In typical CC fashion, he says, “Forget what the POH says! You need to know and feel your aircraft exceptionally well. You need to fully explore the lower end of the performance envelope of your aircraft.”
He directs us to create a grid with one column for the different flaps position, one for the stall warning activation, and a final one for the actual airspeed, and says, “today, we are going to be test pilots.”
The next discussion before heading to our aircraft is about weight & balance. “Do you know what is your ideal W&B to obtain the slowest possible stall speed?” A passionate debate starts, discussing the pros and cons of forward versus rear Centre of Gravity and the proper amount of ballast needed to achieve optimum performance. You better have your knowledge fresh if you want to argue with CC – he knows what he is talking about!
Then the time comes to be a test pilot! We headed to my 170B and double-checked if it was loaded correctly (C C will do that with each of his students and add ballast if necessary). We also checked all the main control surfaces to see if our aeroplanes were adequately rigged. CC shared stories about many clients discovering that their aircraft were improperly rigged during his training.
He also checks my survival equipment – Garmin InReach, water, camping equipment, and a basic survival bag, including some food. He approves, it’s good enough as we’re flying close to the airport. If you don’t have a survival bag, he will bring one from the hangar. He never leaves the airport without one. Life experiences have taught him that.
As the first exercise of the day, we perform an optimum performance take-off to determine the optimum take-off speed for a short field. We select optimum flap (first notch or 10° on my 170), hold the brakes full power, let it go, keep a tail low attitude and let it fly! CC asks me, “What was your airspeed at lift-off?” And I reply, “40mph.”
The 145hp of the O-300 performed well in the cold morning temperatures. We initially remained in the pattern for an assessment flight before climbing to altitude for the stalls and slow-flying exercises.
As a part of the assessment, CC wants to see how I approach and land without any coaching, in order to detect any bad habits that could be corrected in the following days. I remain high (on purpose) on a steep approach to be sure that I could reach the field if my engine quits. It looks like that pleases him as he tells me ‘…that is the way to do it, steep approaches are safer than low approaches’.
Time to climb – and become a test pilot. My 170 is equipped with a Sportsman leading-edge stall kit, and I knew that my indicated stall speeds would be pretty low, between 40 to 0, depending on the configuration.
Following CC’s instructions, first no flaps. I reduce power and start to pull, pull, pull! Finally, at around 40mph IAS, the 170 slowly mushes down. I release pressure, add power, and we are flying again. We test the different flap settings up to full 40°, with and without power, recording every time the speed as the stall horn sounds and the one when the actual stall happened.
CC temporarily takes control and demonstrates some stalls with power on and full flaps at 60° bank angle. He constantly remarks to ‘remain coordinated, keep the ball centred and avoid entering into a spin’. We completed the ‘test flight’ grid, and now knowing the minimum stall speed of my 170 for our current weight, we head back to the field.
“After landing, CC comments that, based on his own experience with 170s, he thinks my ASI was off, indicating probably 10mph less than it should”
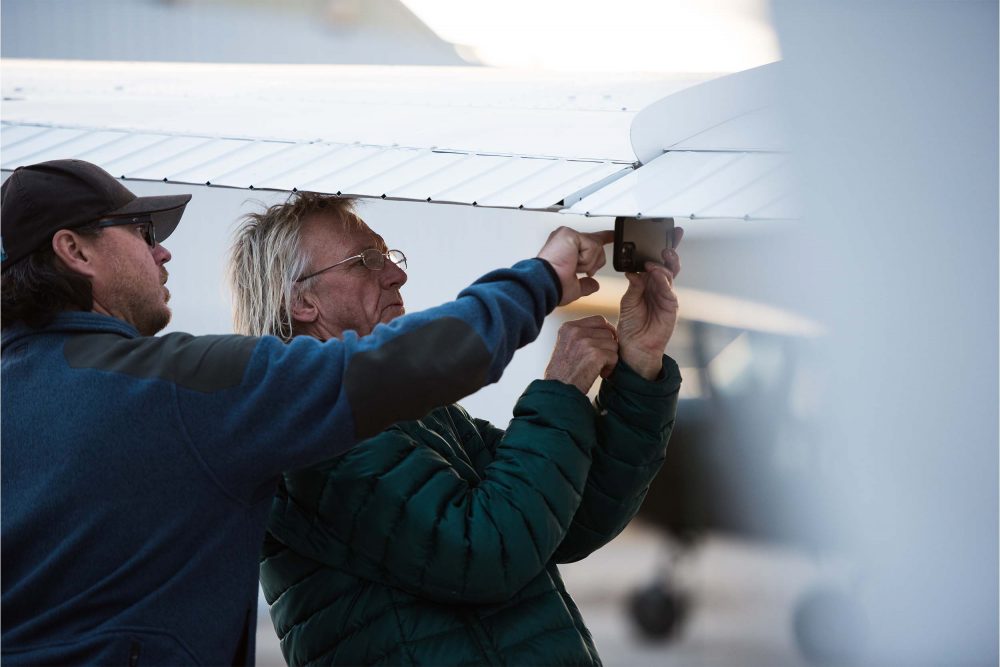
After landing, he comments that, based on his own experience with his 170s, he believes my speed indicator was off, indicating probably 10mph less than it should. He points to my pitot tube as the possible culprit. He quickly adjusts the shape of the pitot tube, and we go for a quick test flight. Compared with the speeds of the GPS, no doubt now the speed indicator was more accurate!
With enviable energy for his 61 years, CC keeps working with Keith and Kirk. Keith didn’t bring his 172 and chose to use the one from the school, while Kirk uses his own 182. A few hours later, we are all smiles back at the house after completing our first day. It is time for some beers and excellent food. CC fire ups the grill and quickly cooks some great jalapeno burgers, gets the cold beers, – and it is chill time. Life is good!
Day two means it is time to apply our new knowledge about our aeroplanes’ ‘slow’ performance to perform optimum performance take-off and landings. During the briefing, we discuss stabilised approaches. I feel familiar with this topic, which is part of every approach in my airline life. But it is the first time I hear a general aviation instructor be so adamant about it.
“A stabilised approach is a steeper than normal approach in which the aircraft is in a position where minimum input of all controls will result in a safe and almost perfect landing. Normally the best approach angle is around four degrees. Once power and pitch are set, you should be able to take your hands off all controls, and the aeroplane should continue on a smooth nose-low descent towards the touchdown spot all by itself without a tendency of the airspeed increasing!”
The first flight of the day was going to be dedicated to performing stabilised approaches and spot landings. We also discussed how to aim for a spot using an imaginary ‘rifle sight’ and make precise landings every time. By precise, we are talking about hitting a marked line on his runway!
CC performed the first approach demonstrating his technique. He started his approach higher than you usually see in most General Aviation airports.
Long final, full flaps, he lowers the nose following that imaginary ‘rifle sight,’ maintaining a continuous vertical descent rate of approximately 500ft per minute with a slight amount of power. Minimum adjustments are made mostly with power only, ending the approach with a perfect landing… hands-off. Yes. Hands-off. There goes the myth of how difficult taildraggers are to land…
CC handed me the controls, and it was my turn. Luckily for me, I felt comfortable with the stabilised approach concept, as is my usual way of approach. CC helps me polish my technique and reminds me to avoid what he calls ‘PIT’ – Pilot Induced Turbulence! He tells me when he sees that during training, he asks the pilot to let go of the controls and amazingly, the turbulence is over. I smile as I have seen that ‘turbulence’ happen a lot in the airlines too.
Based on the familiarisation and test flight we did the previous day, I perform my final approach at the Optimum Stabilised Approach Speed of 50mph (we determined this speed the day before) down into ground-effect. For those not familiar with the 170, it is basically a Cessna 172 (actually is the other way around). Have you ever approached in a 172 comfortable at 50mph?
I perform several landings until I consistently hit the spot, and then it’s time for a break. Each flight is around 30 minutes, to avoid overwhelming the student with far too much new information. By the time we restart, the wind has started to pick up, which was great for what was coming next. It was time to make our precision take-off and landings even shorter.
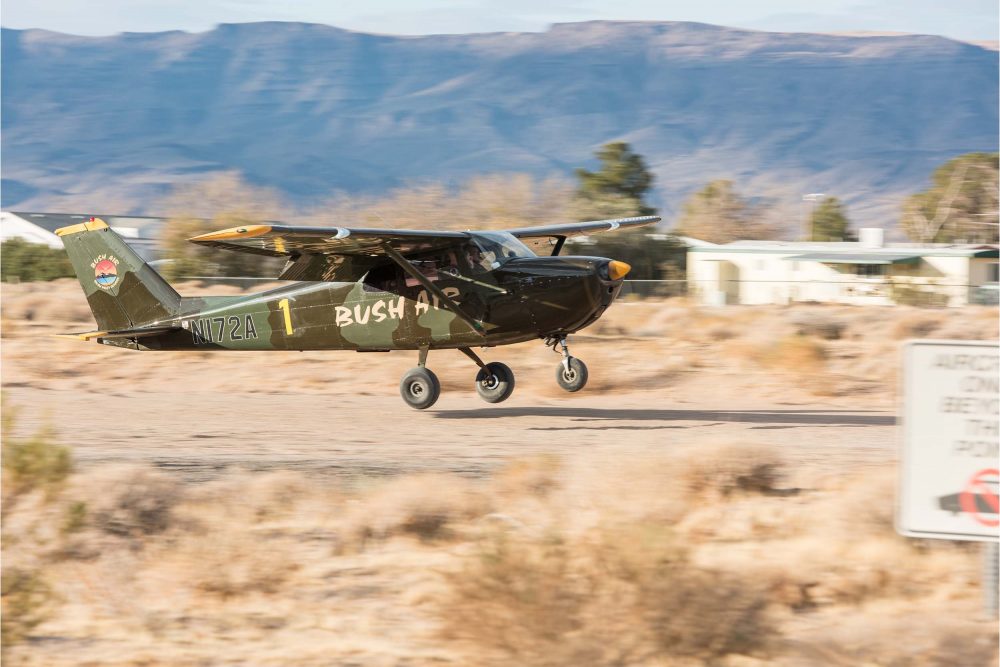
CC has a competitive spirit and a background in racing cars. Combined with his passion for aviation it is no surprise that during the past years, with his 170 ‘Hot Rod,’ he has been a top competitor in every STOL competition around the USA, winning several of them and consistently ending in the top three. He’s incorporated some of this competition experience into the Bush flying course.
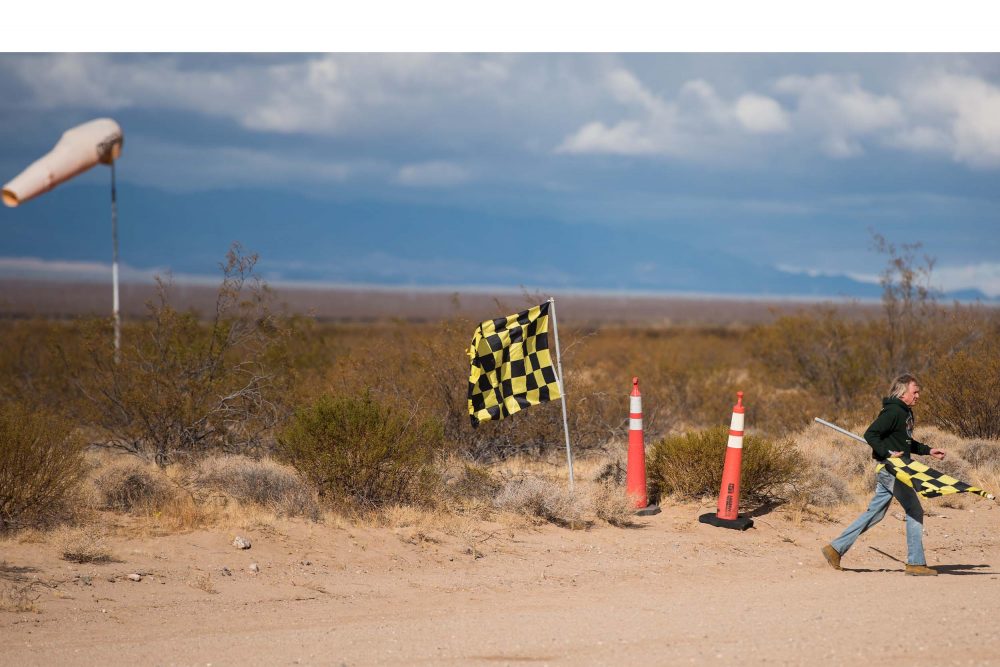
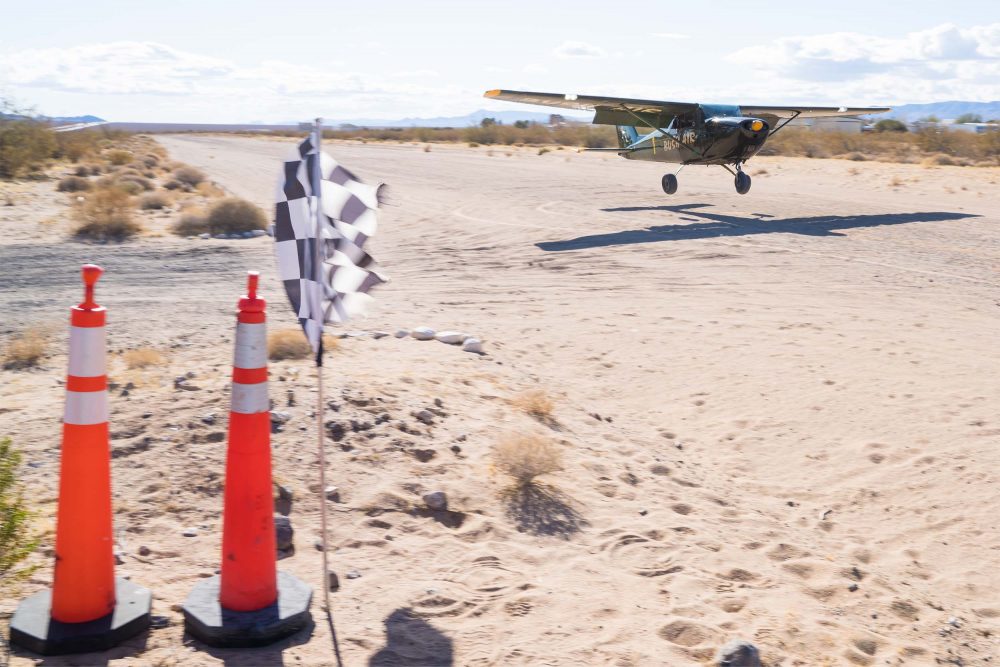
Winds were up to around 15kt straight down the runway. CC set orange cones and racing flags on both sides of the runway to create an imaginary competition line. While the technique was going to be similar to what we have been practising, we would add an extra step this time. It was time to use the flaps differently!
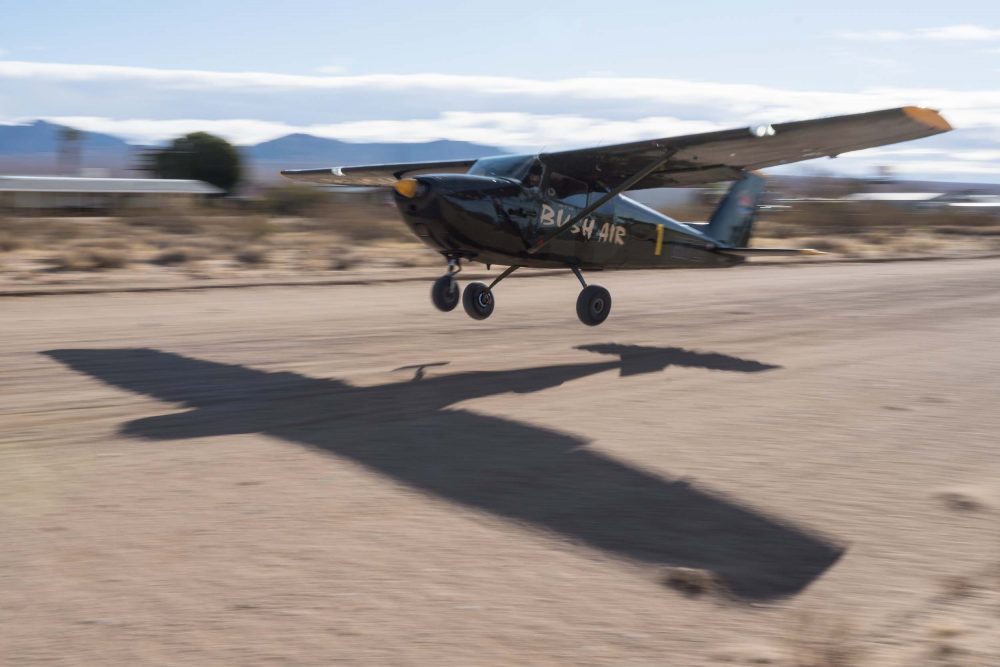
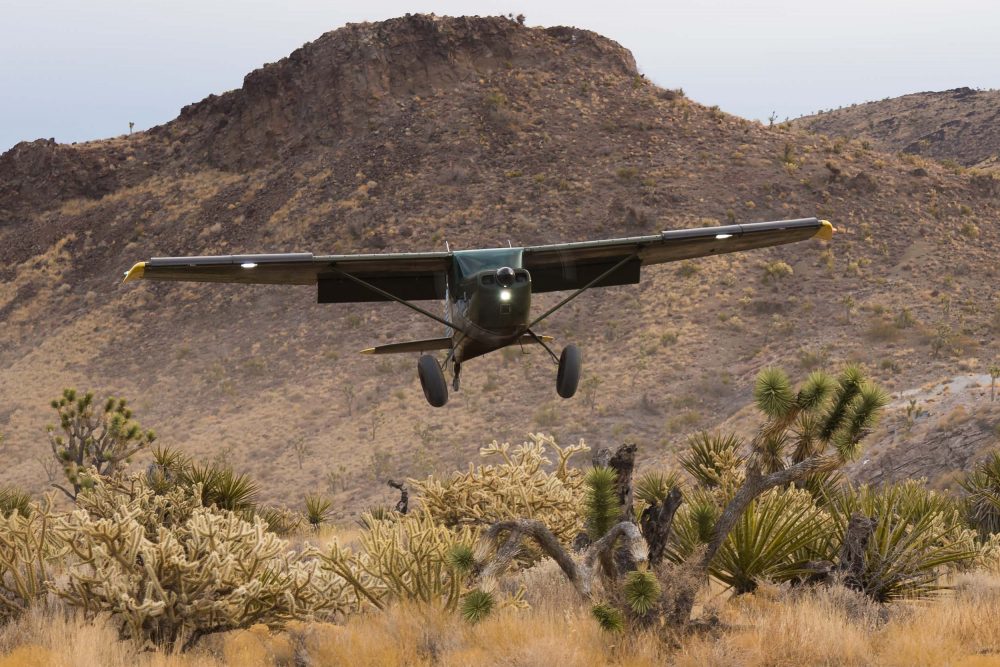
Again, first, CC performed a demo, one notch of flaps, hold the brakes, full power, release brakes, raise the tail, and here comes the tricky part… CC has the perfect feel for my 170, and precisely times to the second that the aeroplane is almost ready to fly, and pulls full flaps forcing it to get airborne. Ground-effect, ground-effect! Remain in ground-effect, retract the flaps back to the first notch, accelerate and then start to climb, then retract remaining flaps at a safe speed and altitude. Sounds easy? Soon I would discover it is not so easy.
Next was the landing. As before, we performed a stabilised approach. The difference this time is that we approach with the stall warning on, at the minimum safe stabilised approach speed into ground-effect, and then arriving with a high nose attitude at the line ‘hanging on the prop’. CC cuts the power and raises the flaps simultaneously in one continuous movement followed by full braking while holding back the elevator! Just like that, we were stopped – and in a distance of 120 ft! Yes, this is still a Cessna 170 with two on board, half tanks, and around 60lb of baggage.
My turn. Full power, release brakes, I am trying to feel if the aeroplane is ready to fly, and I pull the flap-actuating Johnson bar to the 40° notch. I pulled one second too early! The 170 tries to fly but mushes and settles down again. She wasn’t ready! Slight bounce, and finally, we are flying. I stayed in ground-effect and slowly retracted the flaps to the first notch / 10°, and with a safe speed, I started to climb.
On a stabilised final, the wind was gusty, and I was making constant minor adjustments to my power, controlling the rate of descent. My ‘rifle sight’ locked on the orange cones and the line between them across the runway. I am almost over the line a couple of feet above the runway, as CC yells, “Cut the power!” We were already in ground-effect. In one move, I flare, pull the power, flaps up, and touchdown precisely on the line! “Brake, brake, this is a short field,” shouts CC. The 170 shakes, veers slightly to the right, and I can feel the tail lift a foot or two, then it settles. Suddenly we are fully stopped! “Bulls eye,” screams a happy CC. I feel delighted and proud looking back to the line which is only 140ft behind us.
While CC made this training fun, and making it feel like a STOL competition, he reminds us that the main point of this technique is to perfect landing and taking off in short spaces off-airport. It was amazing how the concepts he was teaching were coming along so nicely, and all in just two days and a couple of hours of flying.
The next day, another recap of the concepts learned during the previous days, and it is time to talk mountain flying. CFIT (Controlled Flight Into Terrain) is one of the biggest killers in aviation, especially VFR flying into IMC in mountainous areas. In a serious tone, feeling frustrated, he shares some stories of entirely avoidable accidents that took multiple pilots’ lives. We discuss a checklist that we need to evaluate before entering a mountainous area. “If you break any of these rules, you are opening the door for an accident. These are must-follow rules.”
Weather conditions, determine the wind direction, approach a ridge, situational awareness, approach a confined runway, define an abort point, and many other concepts are discussed, all with a cautious and safe approach in mind.
“One of CC’s best mountain flying rules…Use your ‘sixth sense’. If it’s giving you a bad feeling, then immediately turn back or abort”
A couple of examples of some of his mountain flying rules include:
? Don’t go if the weather is bad, especially if clouds are obscuring the mountain tops.
? Always know the wind direction so that you don’t fly into a downdraught or severe turbulence.
? Never fly in the middle of a canyon or gorge. You may not have sufficient room to turn around.
? Always remain in a position from where you can quickly and safely turn to lower terrain.
? Always cross a ridge at a 45° angle so that you can escape away from it in the event of being unable to clear the top due to turbulence or downdraughts.
? Always ensure you have sufficient fuel, water, first-aid and survival equipment.
? Use your ‘sixth sense’. If it’s giving you a bad feeling, then immediately turn back or abort.
It was time once again to put the theory into practice. We fly to a canyon area just five minutes from Kidwell. We discuss how to approach the canyon, evaluate the wind direction, and then discuss a possible VMC into an IMC scenario with an emergency 180° canyon turn. CC says, “If you ever find that that you are one day in this situation, the first thing you must do is to slow down, get into the white arc and apply first notch flaps – slow down, gear down, flaps down, that will buy you time, and you’ll be ready for a canyon turn.”
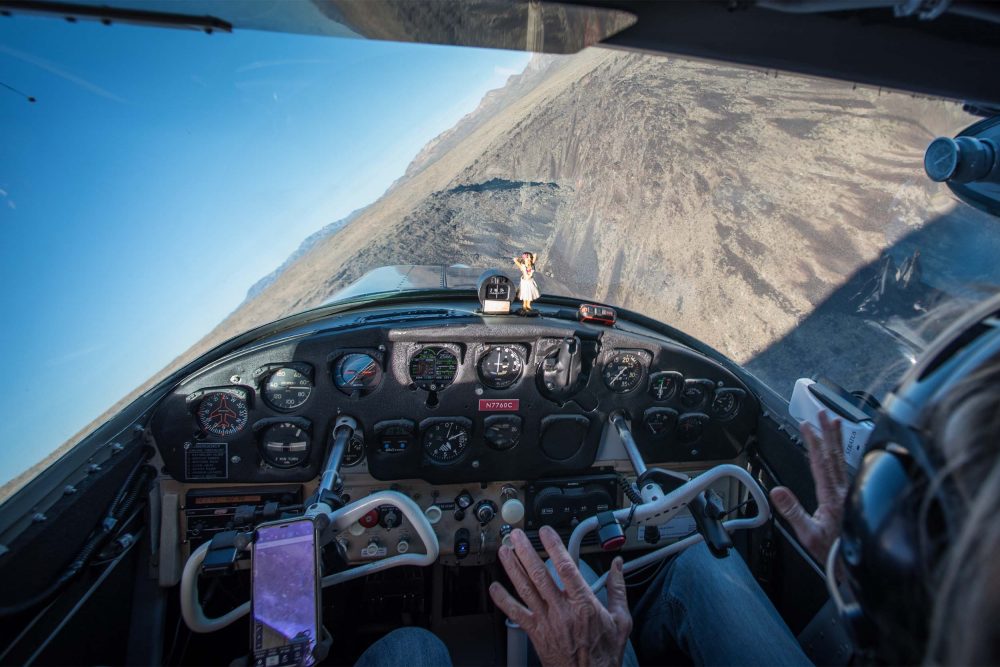
It was time to see what that ‘turn’ was all about. The canyon feels tight, not much space to turn, is what I thought. We are flying on the updraught side of the canyon. “Are you ready?” asks CC, “Full power, full flaps, and turn. Minimum 45°, 60° is better, remain coordinated.” We’re at 60° bank angle in a perfectly coordinated turn, and CC removes his hands from the yoke showing me how effortless this manoeuvre is. Suddenly the canyon didn’t feel so tight anymore. We complete the turn ‘on a dime’, with plenty of space to spare.
CC gets me to practise the manoeuvre several times. It was a lot of fun and felt good to be adding a new skill that could save my life one day.
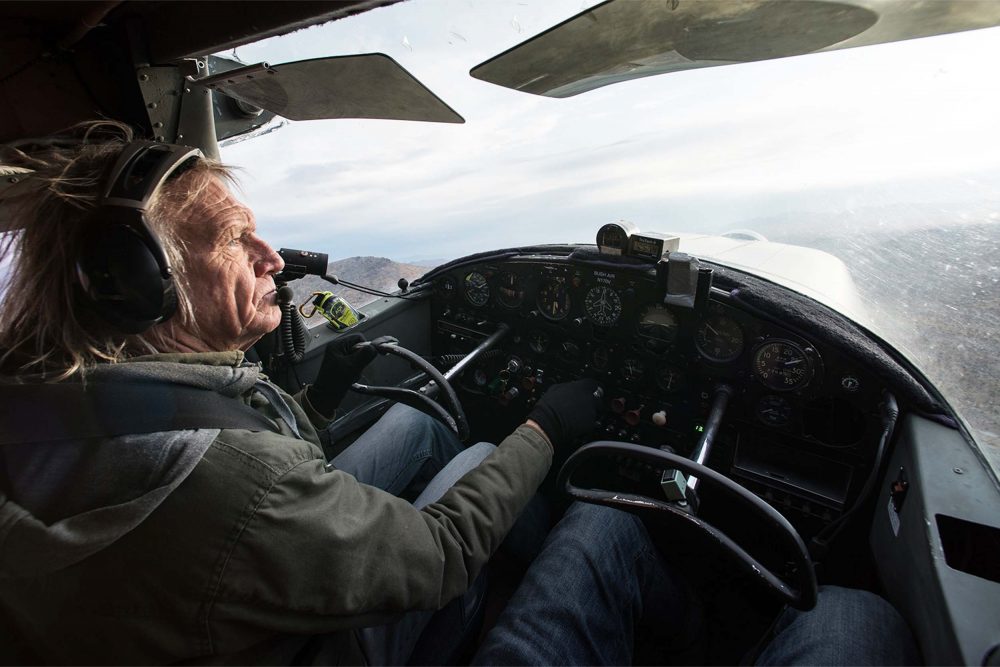
Heading back to Kidwell, it was time to practise an engine failure. CC pulls the power. The O-300 becomes quieter. I pitch for the best glide and turn towards the airport. Again he is demanding precision and wants me to hit the spot within 20ft! “Remain high, save your altitude, and don’t touch the flaps until you are completely sure you are going to make the runway. If you are high, you can always make a forward slip.”
Even with his reminder, I try to set the first notch of flaps too early, he tells me to wait. “Now,” he says, and I pull the Johnson bar, and the large fowler flaps of the 170 go down to 40°, increasing my rate of descent. “Hit your spot,” he reminds me, “Imagine you only have a 600-foot area to land in and remember to retract the flaps to force the aeroplane to land.”
Once again, everything was coming together. I crossed the threshold just a few feet over the runway. At the touchdown spot, I quickly raise the flaps, and the 170’s gear legs flex with a positive touchdown. I promptly apply full brakes, and we stop within 200ft. We both smile – this is flying training at its most fun.
We’re nearly done. CC demonstrates an immediate emergency return to the runway after take-off.
Engine failure after take-off is a hotly debated light aircraft safety topic. Your instructor no doubt taught you to lower the nose, maintain a safe speed, and land straight ahead. Above all, avoid making that ‘impossible’ turn at too low an altitude. But what if you have a situation where you can still fly, but you need to get back on the ground fast – smoke in the cockpit perhaps? Have you ever considered those scenarios in your mind as you take-off? “Sometimes you may need to return immediately, and that means not climbing to 1,000ft and performing a normal circuit.”
CC takes the controls for the demonstration. Applying take-off power, we get airborne. At around 100ft, maintaining take-off flap configuration, we initiate a left turn remaining as close as possible to the runway. We hold a constant turn, skimming the few trees of the Nevada desert performing a shortened circuit. Turning to final with the runway secured, he selects full flaps and lands. It was less than 120 seconds from take-off to a full-stop landing. One final skill added to draw on in the future.
CC performs a final evaluation to demonstrate all the concepts learned during the previous days.
He explains it’s a simple one, as he covers all my instruments with stickers, and asks me to take-off, fly a circuit and land with no instrument references. This final test shows that I really
have perfected the ‘seat of the pants’ ability with my 170.
The course was complete, and I was humbled by how much I learned in just three days.
While sharing one last beer, Keith, Kirk and I chat. We all agree that we got what we came looking for – and more. Like the 750 pilots that have previously taken CC’s Bush flying course, we felt safer, more skilful, and confident and had acquired a much better knowledge of our aircraft and more critically, our personal ability.
CC’s capabilities as instructor, host, and chef are second to none and hard to match. I’m already planning my return for part two of the course, and, of course, more ribs…