Back in the summer of 2016, we reviewed Kodak’s 360º camera. We came to the conclusion that, if you managed to fight your way through the instructions and were prepared to wait a good while for some slow video processing to take place, you’d get some decent results.
We also suggested that if you wanted a simpler, better, faster and cheaper solution you’d probably only have to wait for the next generation of 360º video cameras to become available. Okay, that wasn’t a tough prediction, but nonetheless we’re happy it’s come to pass, as in mid-2017, Garmin launched the VIRB 360, and we’ve been taking a look.
360º Immersive video
https://youtu.be/A0n0gIf-sGM
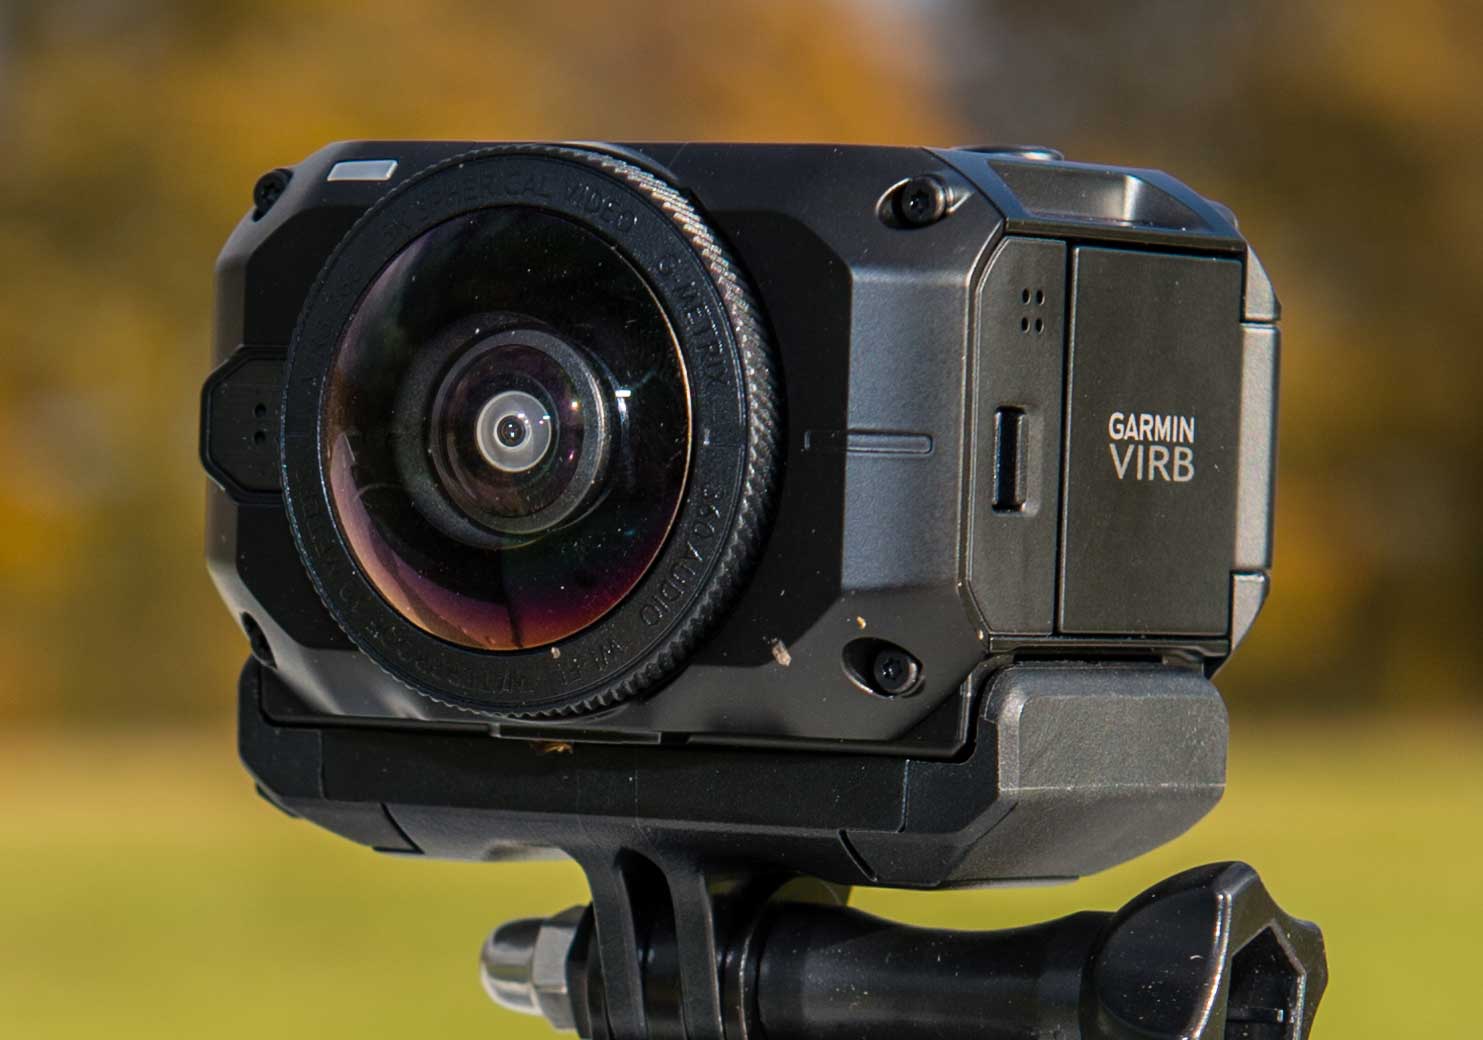
The VIRB 360 is basically a small cube with a 200º camera front and back. It has one battery, a slot for a Micro SD card, one set of controls, a screen and four microphones for 360º sound. It’ll shoot and, better still, stitch video at 4K in-camera (5.7k at 30fps in RAW is available for external processing) and will shoot 360º stills.
The VIRB 360 has a built-in GPS and is capable of linking with and displaying data from external ANT+ sensors, so if you have a heart rate monitor you can see just how stressed you were as you fell out of that loop or bounced a gusty crosswind landing!
There’s a great online Owner’s Manual with simple instructions and, better still, a sliding switch on the side which, when activated, turns the camera on and starts shooting video. It’s tough to get things much simpler than that, although Garmin has given it a go, as the VIRB 360 will also respond to voice commands in one of several languages, although I found the feature to be more frustrating than fruitful.
Despite the 'instant switch’ on the side of the camera, the useful website combined with the simple menu system encourages a bit of exploration. You can, of course, shoot full 360º video, but also specify 'just’ recording rectangular, 16:9 video at 1080p, through either the front or the back camera. Power users can also specify two separate RAW 5.7K video files from the front and back lenses, for later stitching.
In terms of mounting, the VIRB is supplied with a couple of attachments which snap onto the bottom of the camera, one of them has a tripod-style bush for screwing into the (supplied) mini-tripod, while the other is a GoPro-style mount.
[caption id="attachment_12306" align="alignleft" width="1483"]
Two 200º lenses, one front, one back, provide a full 360º view around the camera. Happily, the C180 has four solid rings, used to lift the aeroplane to fit skis or floats, and the MyPilotPro mount makes fixing the camera here both easy and secure.[/caption]
Although the VIRB 360 is said by Garmin to be both rugged and waterproof to 10m, its first outing saw it suctioned to the inside of a cockpit. I was pretty pleased with the quality first time out, with the stabilisation working really well and, somewhat strangely, using the camera’s internal G sensors to keep the horizon level!
You don’t have to wait until you’re back at your desk to view the footage as, if you download the Garmin VIRB app to your smartphone, the VIRB 360 will happily stream the footage, even enabling VR mode, if required, so you can view it though Google Cardboard or a set of VR goggles, changing the viewpoint by moving your head!
After a couple of outings I got brave enough to use the camera externally and mounted it to the lifting rings on the top of a C180’s cabin using a MyPilotPro external camera mount (reviewed
here). Linking the camera to the app on your phone through Wi-Fi enables easy set-up, and makes it simple to turn the camera on and off in from inside the cockpit, in order to save battery life (Garmin says that a charge should last an hour).
Shooting the video and looking at it on your phone is one thing, but obviously you really want to edit the footage and post it to YouTube or Facebook, to impress family and friends with that 360º thing. Honestly, unless you’ve really spectacular footage the novelty and interest of the 'just drag it around to see everything’ visual bling wears a bit thin pretty quick. And I imagine that’s exactly why Garmin’s VIRB editing software comes with an option to edit in something it calls HyperFrame.
HyperFrame video
https://youtu.be/fKINSX7UJhQ
Put simply, you cut your video together by dragging whichever clips you think worthy onto the timeline (hint: cut your video ruthlessly, almost every amateur aviation video in the entire universe is way too long), and then you add a camera angle timeline, and different angles and pans, to suit your storyline. That works amazingly well, and makes the viewpoint taken from a single camera much more interesting. We edited a quick video test and added HyperFraming to one of them while leaving the other as the full 360º experience.
To get the most from the VIRB you’ll have to think about mounting it externally (with the minor legal implications that brings), and you’ll need to have more than a passing interest in creating videos. But if that’s you, this is definitely the camera to beat.